
-
Turn Heads
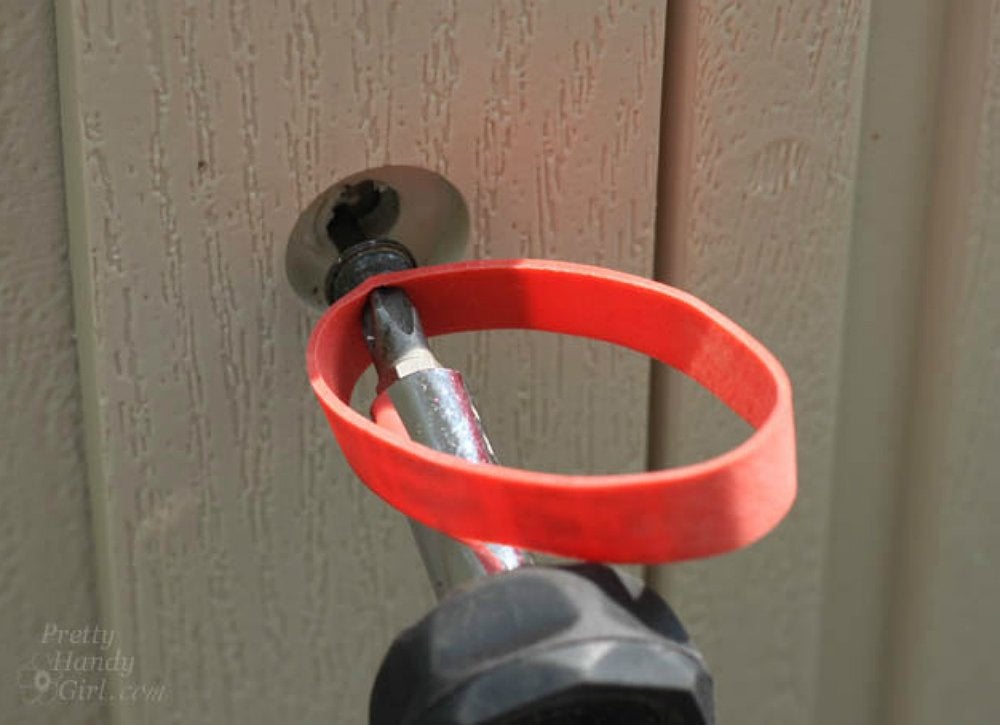
Is removing a stripped screw stretching your patience? Try placing a rubber band flat against the screw head and then fitting the tip of a screwdriver over the rubber band and into the grooves. The band will fill in the gaps in the screw, providing the traction needed to turn the screw and remove it with ease.
Photo: prettyhandygirl.com
-
Zip Through Clogs
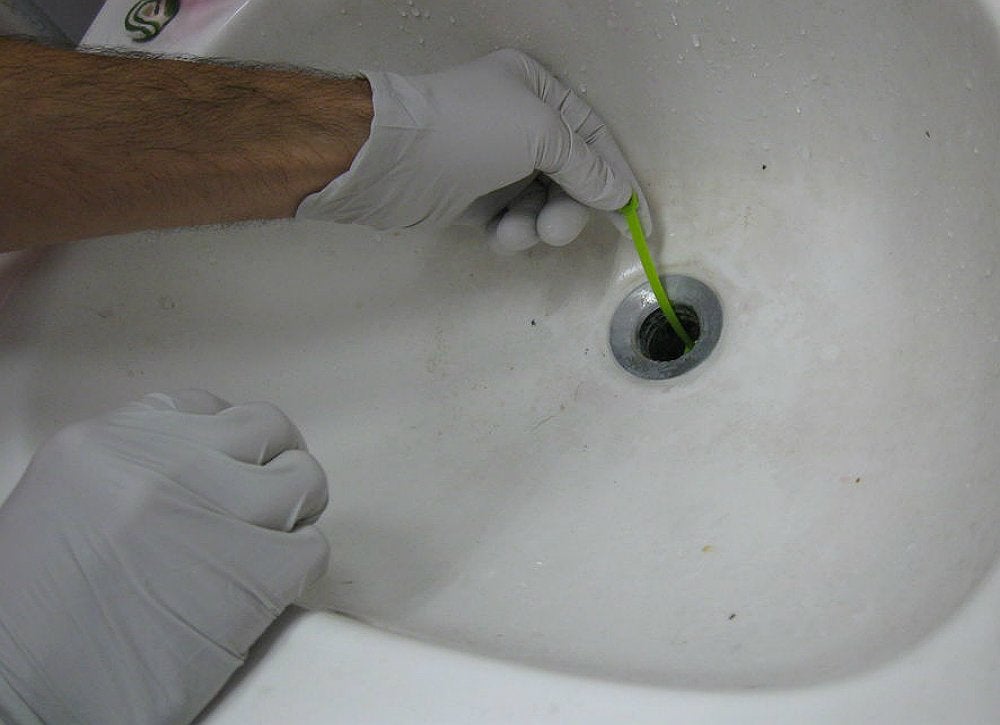
Some drain cleaners and unclogging gadgets do little more than send money down the drain. The next time you’re stuck with a clog, try linking together a few long, wide zip ties and using a wire cutter to snip protruding barbs into them. Then, just feed the ties down the drain, clear the clog, and put a stopper on extra spending.
Photo: Instructables via jovino
-
Bonding Time
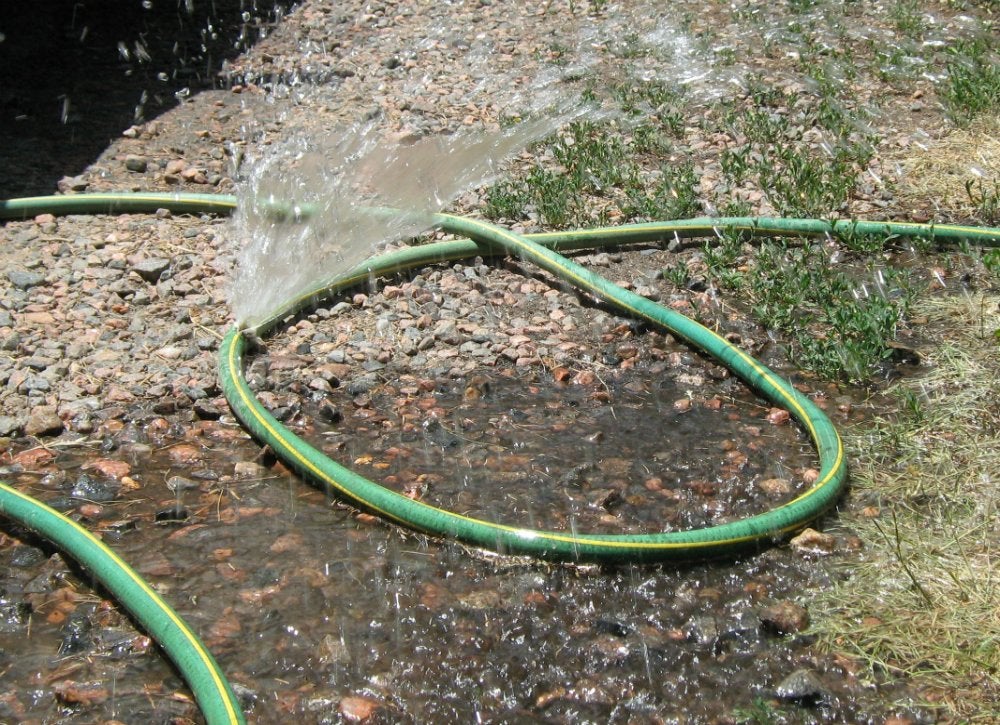
While it’s great for assembling crafts and facilitating indoor repairs, superglue is equally effective when used outdoors to waterproof and leakproof backyard essentials. Use a spot of the super-strength bonding adhesive to plug holes in hoses, pool floats, and more.
Photo: Flickr via oddharmonic
-
Noise Cancellation
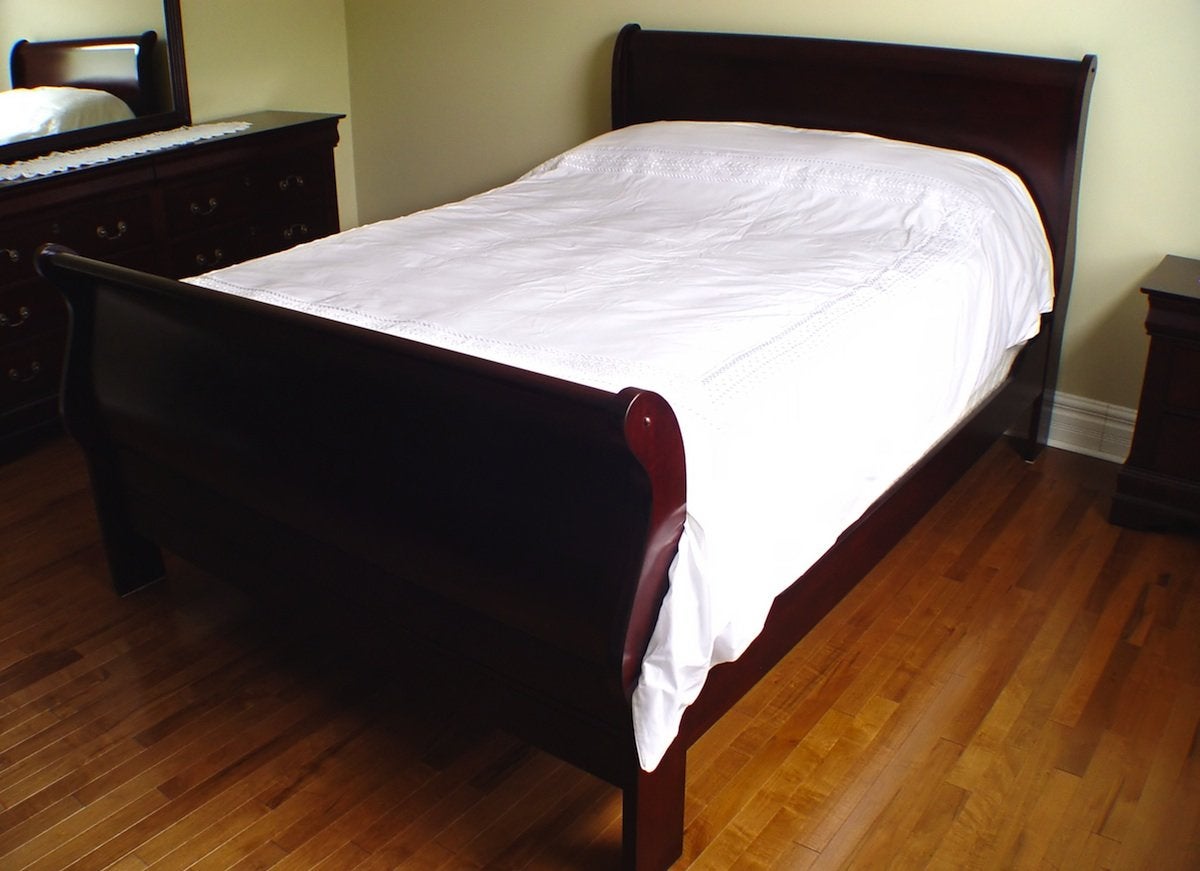
Of the many things that go bump in the night, thesqueak of a bed frame may be the most frustrating. Here’s how to put the offending sound to bed. Move across the mattress in order to locate the noisy joint in the frame. Then, rub a wax candle over the contact points of the joint until all you hear is sweet silence!
Photo: fotosearch.com
-
Hole-in-One
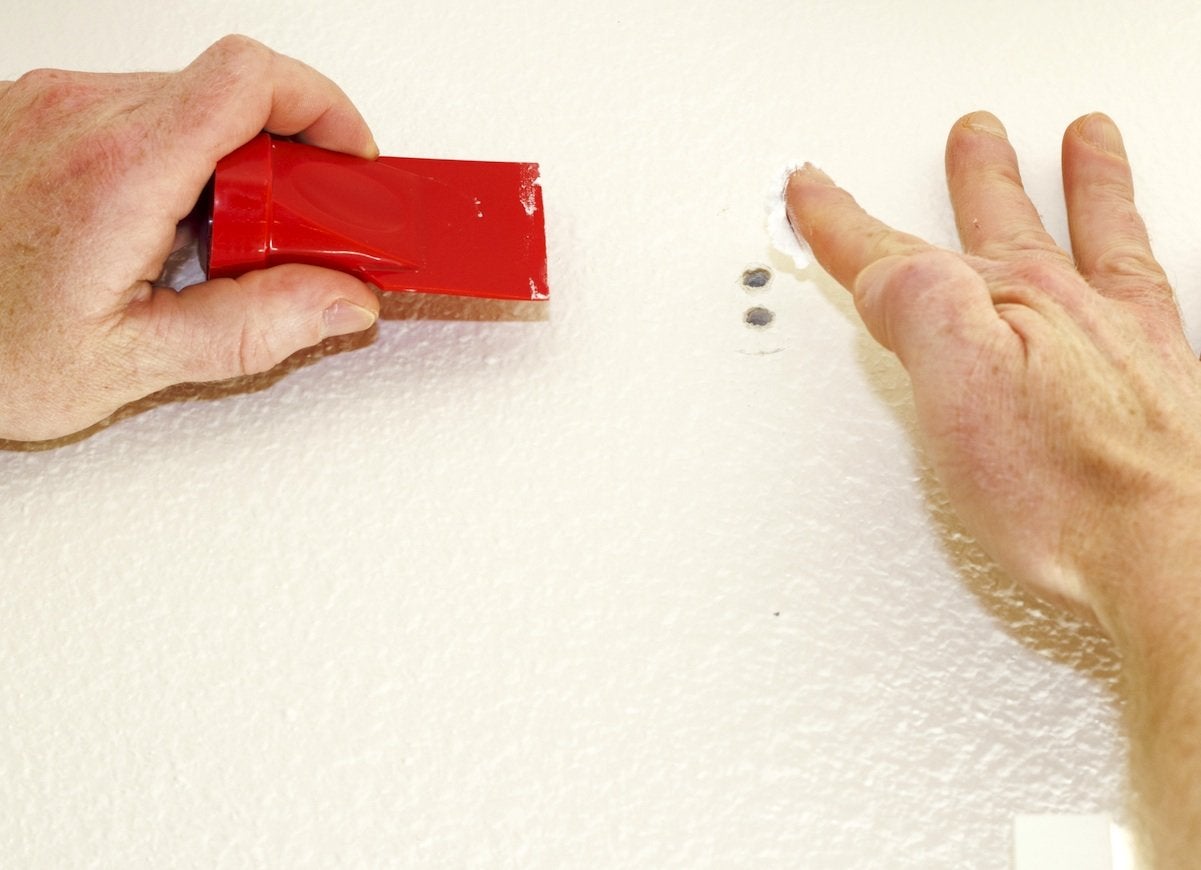
Moving out of a rental means you can no longer hide unsightly nail holes behind portraits and posters—if you want your deposit back. Non-gel toothpaste, a household staple, can easily fill the holes while blending seamlessly into the walls. Rub a dollop of paste into the hole, blotting the excess with a wet rag for a pristine finish.
Photo: fotosearch.com
-
Meow Mix
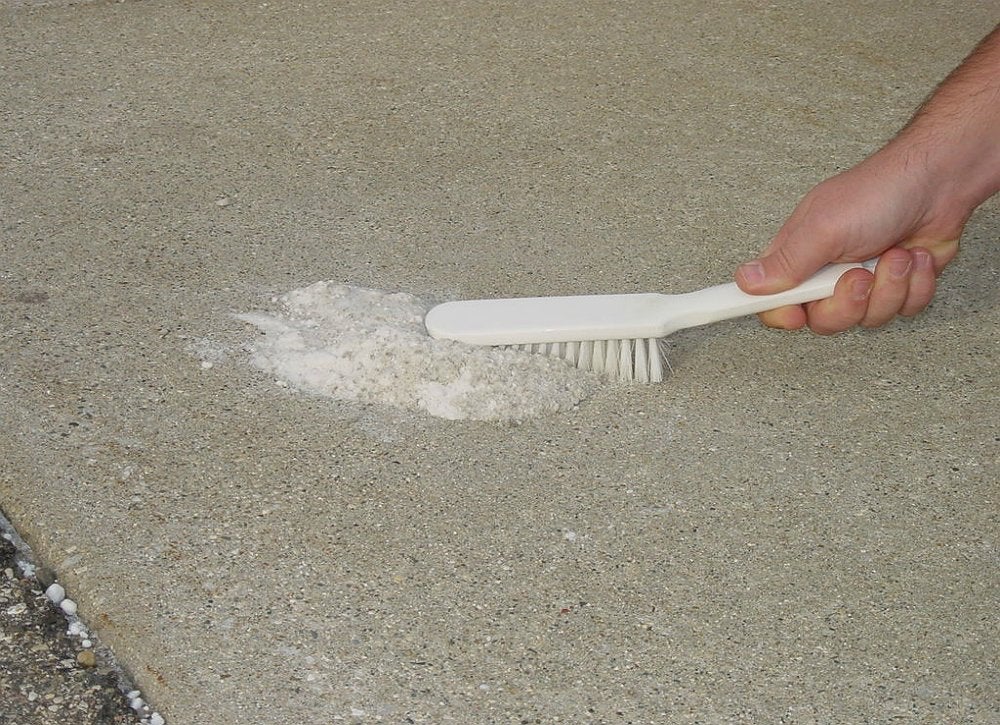
Your cat probably didn’t cause the oil stain on the driveway, but it has what it takes to help you clean it. Scatter superabsorbent cat litter over the stain, then let it sit for up to 15 minutes before crushing it with your shoes. Finally, scrub the area with detergent, and rinse the stains away!
Photo: Instructables via hewie
-
Freshly Pressed Floors
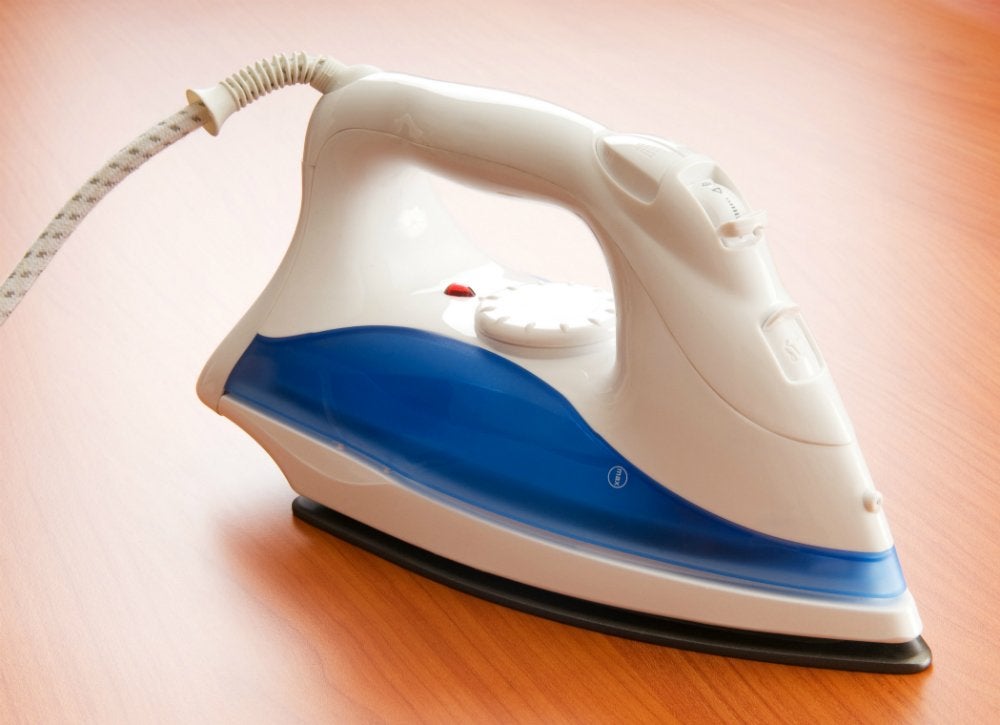
As effective as irons are at de-wrinkling garments, they’re equally adept at pressing old, warped floor tilesback to perfection. Cover the peeling tiles with aluminum foil, and press a hot iron over the foil to soften the flooring. Then, gently pull up the warped section of flooring a bit. Scrape away dried adhesive, add new glue, and press with a heavy object to complete this underfoot fix.
Photo: fotosearch.com
-
Complementary Condiment
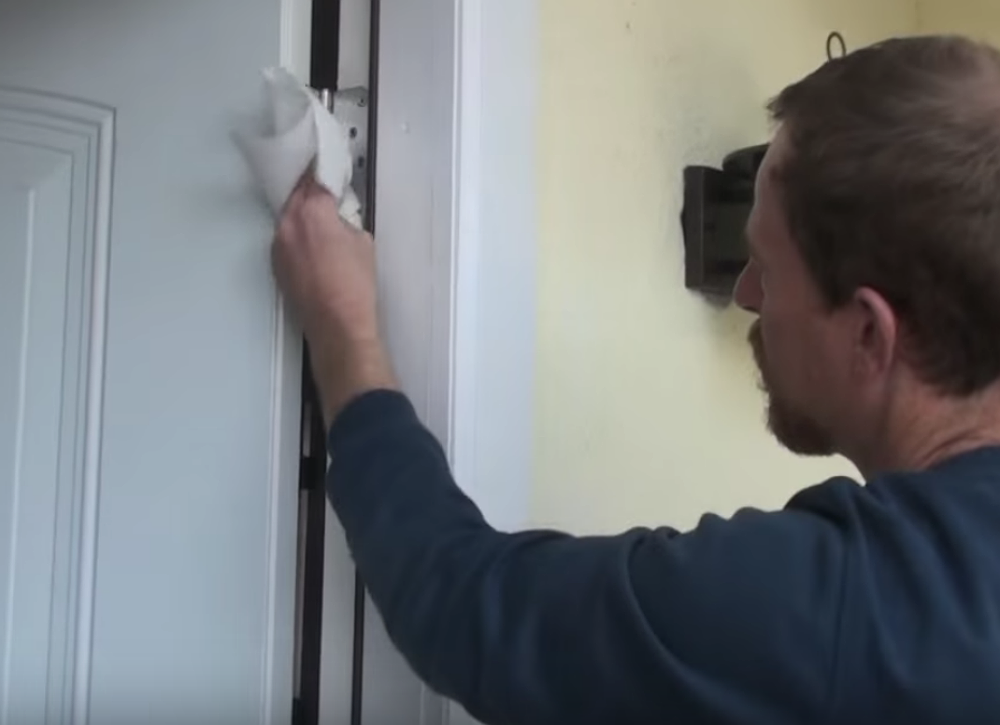
A squeaky door can often be blamed on the pin that connects the two hinge plates. Use a hammer to tap a nail upward into the pin to push it out of the hinge, then pull it out the rest of the way. Coat the pin with full-fat mayonnaise before reinstalling it in the hinge. Open and close the door several times to distribute the lusciouslubricant—and quiet the noise.
Photo: YouTube via WatchMeFixIt
-
Duct and Cover
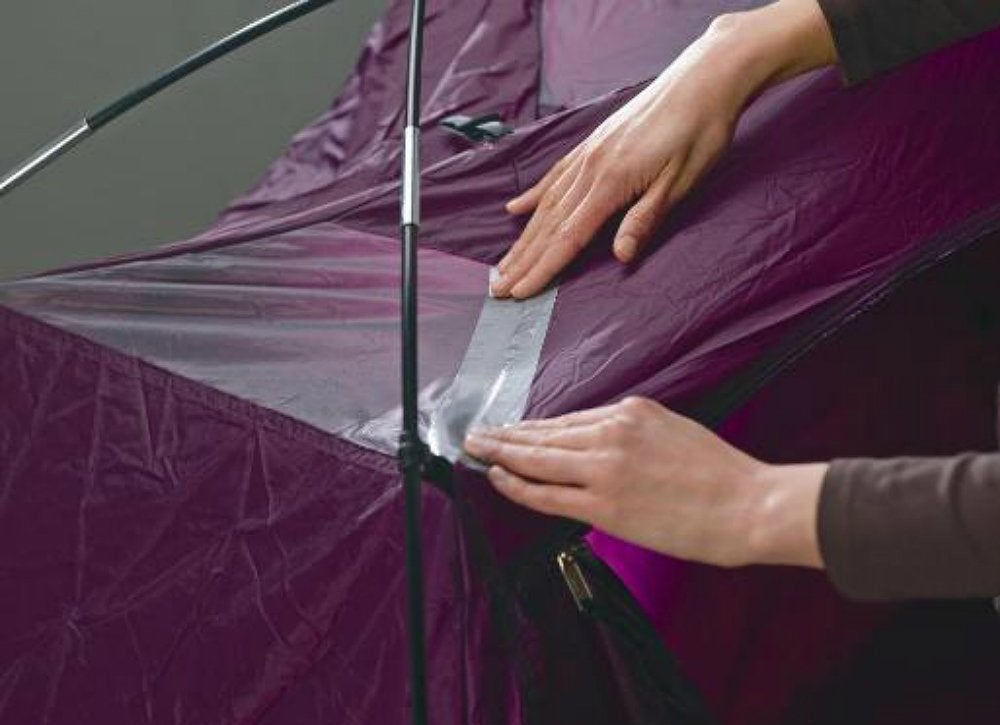
Despite its reputation for makeshift fixes, duct tape can bring serious stability to plastic items like vacuum cleaner hoses, paint buckets, camping tents, and trash cans. Tape a swath to cracks and holes in everyday essentials—indoors and out—to prolong their useful life.
Photo: macsbike.com
-
Fresh Ap-peel
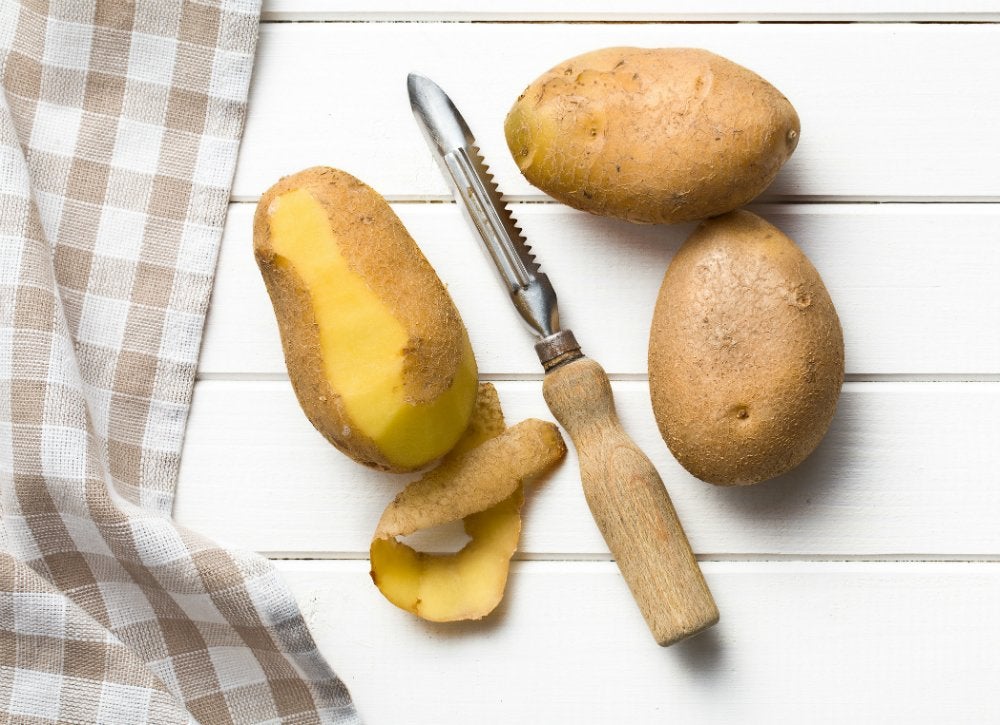
A Phillips-head screwdriver is a must-have in every DIYer’s toolkit, but if it’s gone missing from yours, one of your kitchen mainstays can work similar wonders: avegetable peeler. Insert the tip of the peeler into the screw head, and turn it counterclockwise for an in-a-pinch solution for removing fasteners.
Photo: fotosearch.com
-
On-Screen Talent
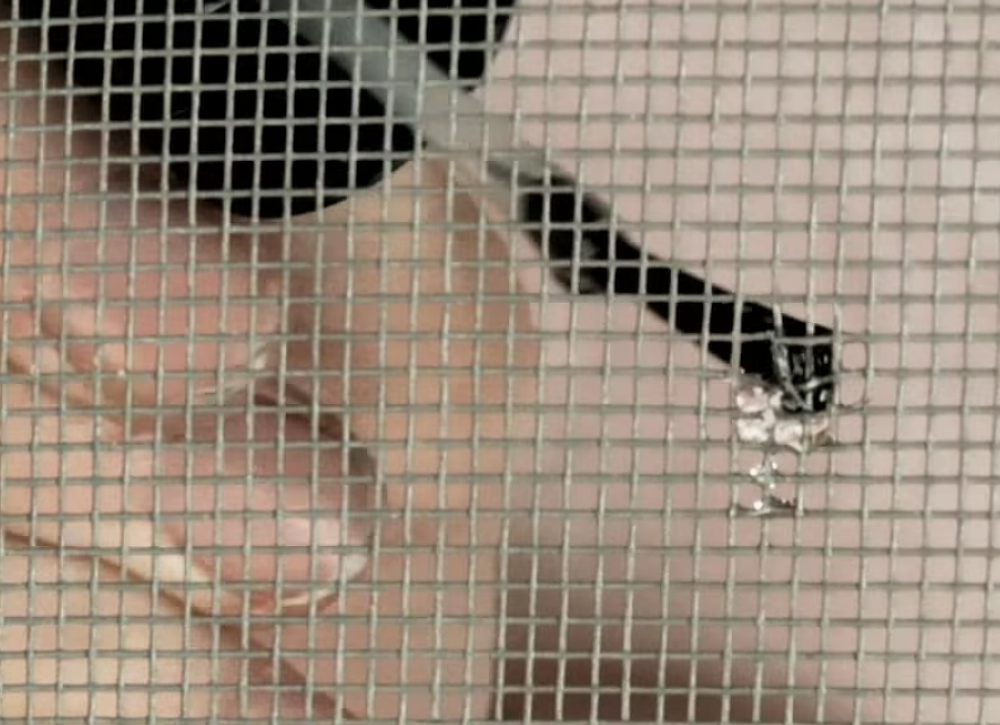
Nail varnish can do more than polish your fingernails—it can also add polish to timeworn windows by stopping window screen tears in their tracks. Brush clear nail polish directly over snags and fledgling slits to keep your window screens—and your sanity—from unraveling any further.
-
Raise the Bar
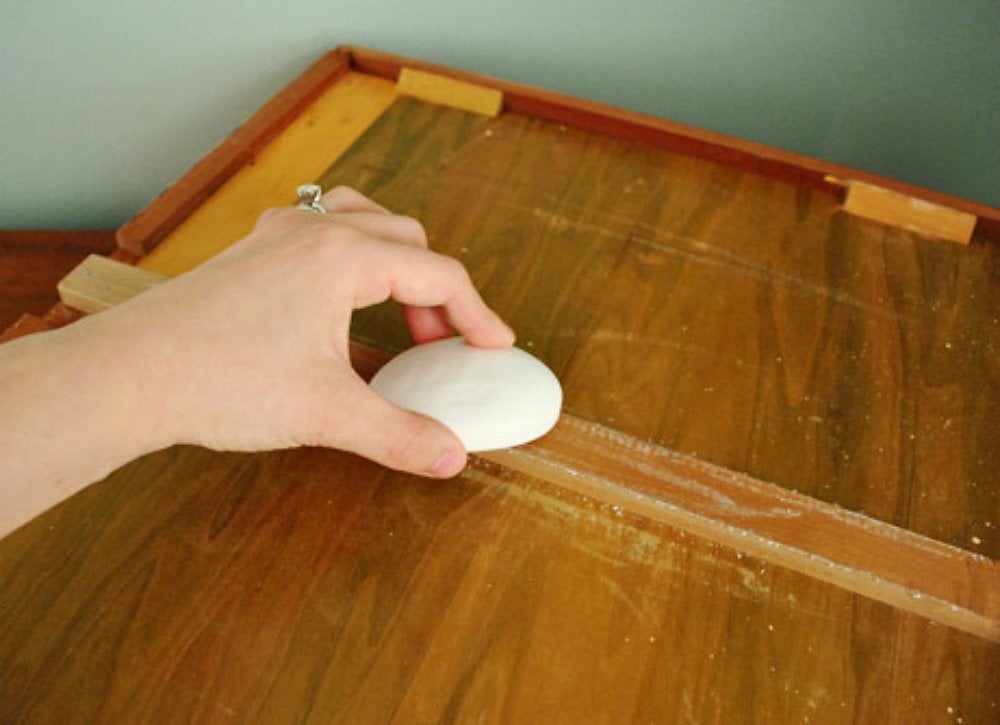
If a stuck drawer stands between you and your everyday essentials, get them out of their sticky situation with a bottom-dollar fix: soap. Simply slide bar or dish soap along the drawer glides. The sudsy savior will act as a lubricant, letting you again have access to your stashed stuff.
Photo: younghouselove.com
-
On the Edge
Are your dull craft scissors literally no longer cutting it? Sharpen up with this homemade solution: Stack several sheets of aluminum foil, fold them in half, and cut them with the scissors. Within six to eight cuts, the razor-sharp blades will be ready to use.
Photo: Instructables via jessyratfink
-
Shower Power
A clogged shower head can lead to slow-running water and a similarly low-energy start to your day. Fill a ziplock bag halfway with vinegar, secure it over the shower head with rubber bands, and let it sit overnight. In the morning, remove the bag, rinse the shower head, and enjoy the refreshing, fast-flowing water.
Photo: Reddit via IT_Serpent
-
Strike While the Iron Is Hot
Can’t live with dents in wood floors and furniture? After wetting the indentation, place a damp towel over it. Then, press a hot clothes iron over the towel, using circular motions for a few minutes to give dings a barely there—if not invisible—look.
Photo: thediyguineapig.blogspot.com
-
Glued to the Idea
Because of its tendency to chip and crack, particleboard furniture‘s useful life is often cut unnecessarily short. Prolong its existence by applying ordinary school glue to any flaws, smoothing the glue with plastic wrap, and coloring the repaired areas with marker for a rustic, restored finish.
Photo: fotosearch.com
-
Pop Star
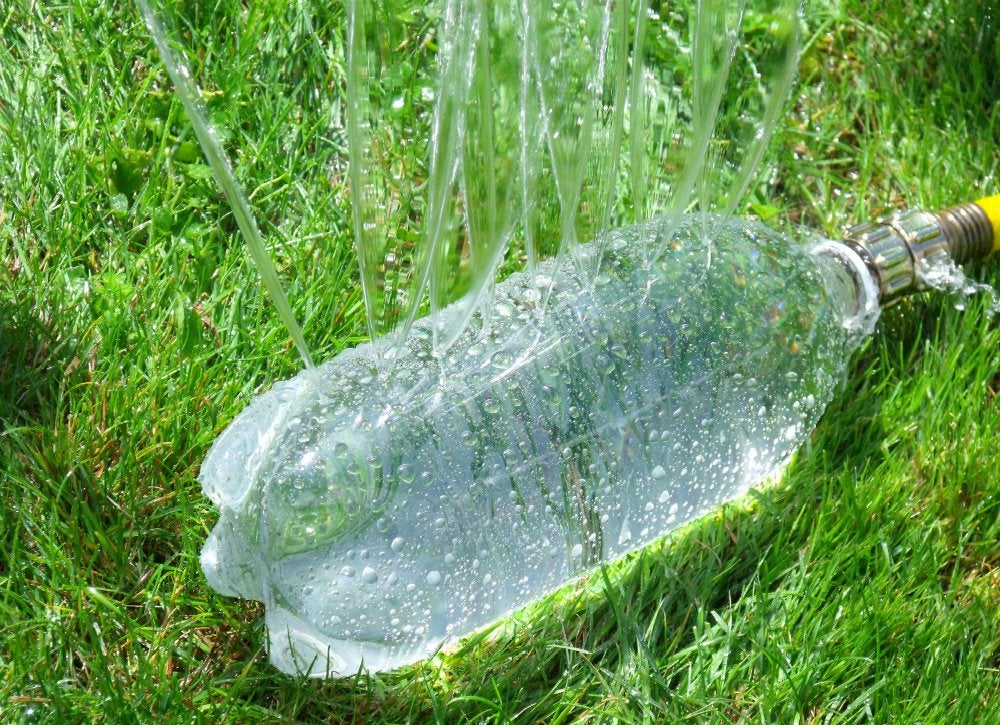
The start of spring is a poor time for a lawn sprinkler to break, but if yours conks out, create a temporary watering tool from an empty soda bottle pierced with holes. After attaching the neck of the bottle to your garden hose, turn on the spigot to give the lawn a drink or even enjoy some springtime sprinkler fun!
Photo: clevercraftycookinmama.com
-
Under Lock and Key
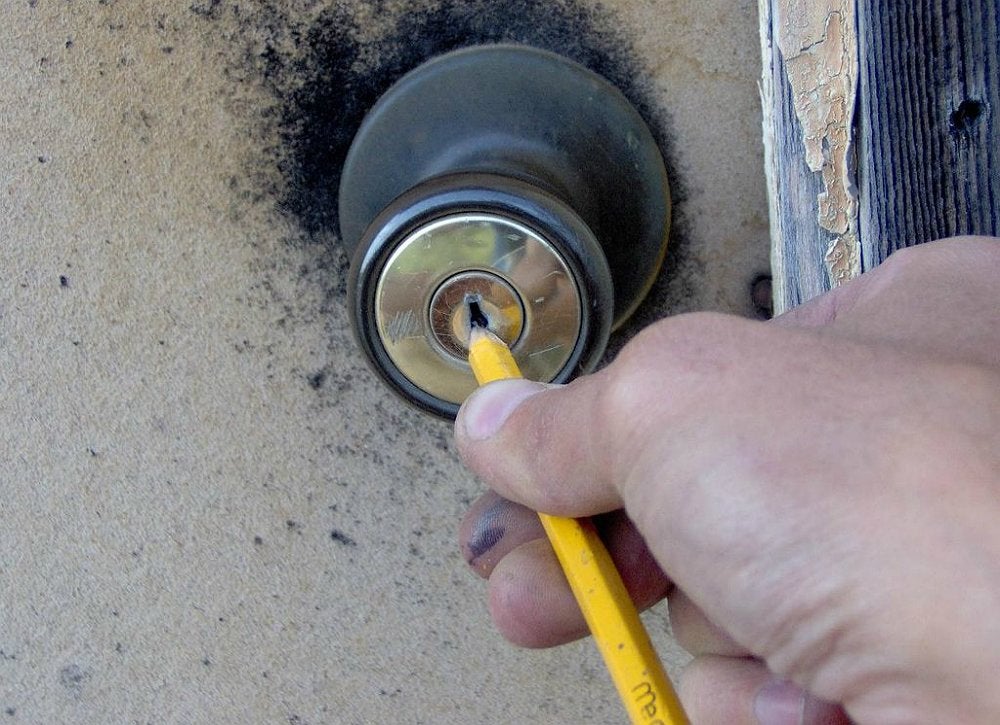
You don’t have to be a locksmith to open a stuck lock. The essential key to success is graphite, which you can obtain from a pencil with the help of a pocketknife. After you fill the lock keyway with the graphite, the lubricated lock will be ready to receive your key—and unlock in a jiffy.
Photo: Instructables via Jack A Lopez
-
A Jarring Idea
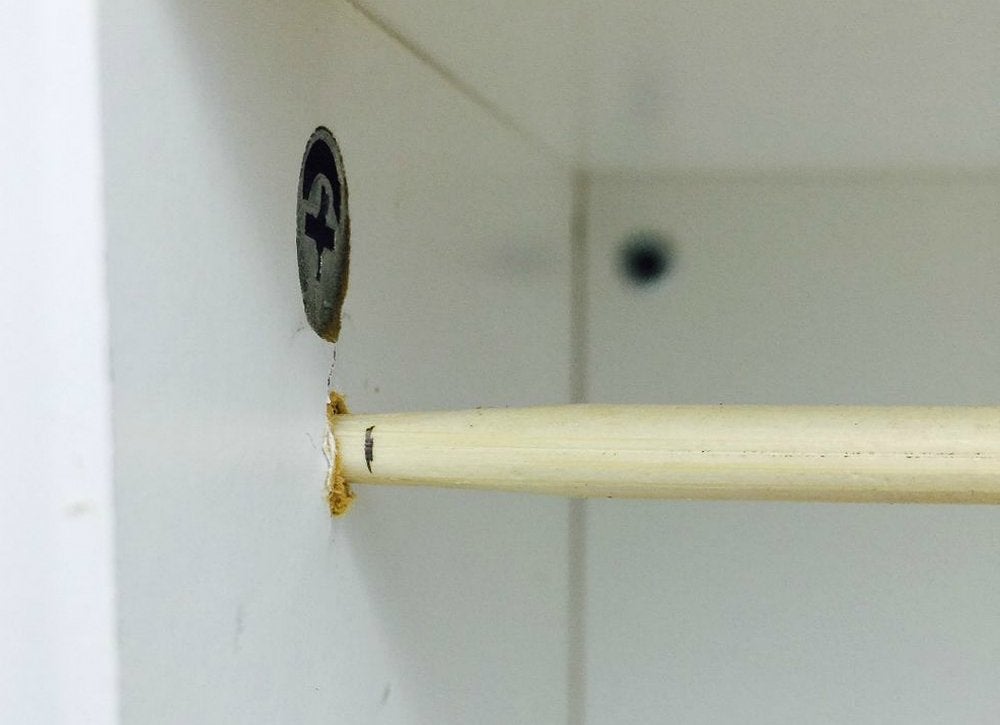
Sometimes the screw securing a hinge to a cabinet door becomes dislodged and stops gripping the wood. Over time, the screw begins to gouge the cabinet interior, and the door becomes crooked and difficult to close. Set things straight by removing the door and hinge, and then fitting a cut chopstick into each stripped hole. Fit the chopstick in tightly, and tap it in with a screwdriver until it’s flush with the inside of the cabinet. Now that you have some wood for the screw to grip, drill a new hole at the center of each chopstick. Finally, reinstall the hinge and door, and close the door on this cabinet conundrum for good.
Photo: Instructables via TLP Shop Lab
-
Above the Fray
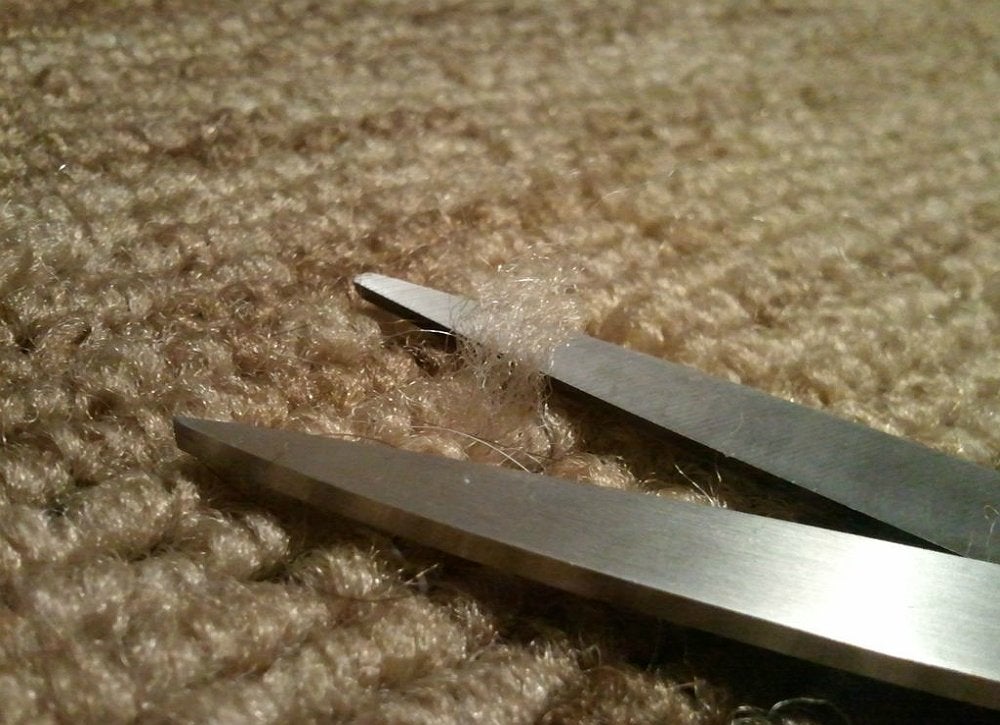
Have you hit a snag on your woven rug? Trim the fray with scissors, and then squeeze fabric glue into the base of the carpet. To set the adhesive, line the carpet with wax paper followed by a heavy book. In two to four hours, even you will be floored by the unnoticeable snag—and the regal look of your old rug.
Photo: Instructables via Johnt007871
-
Got the Chills
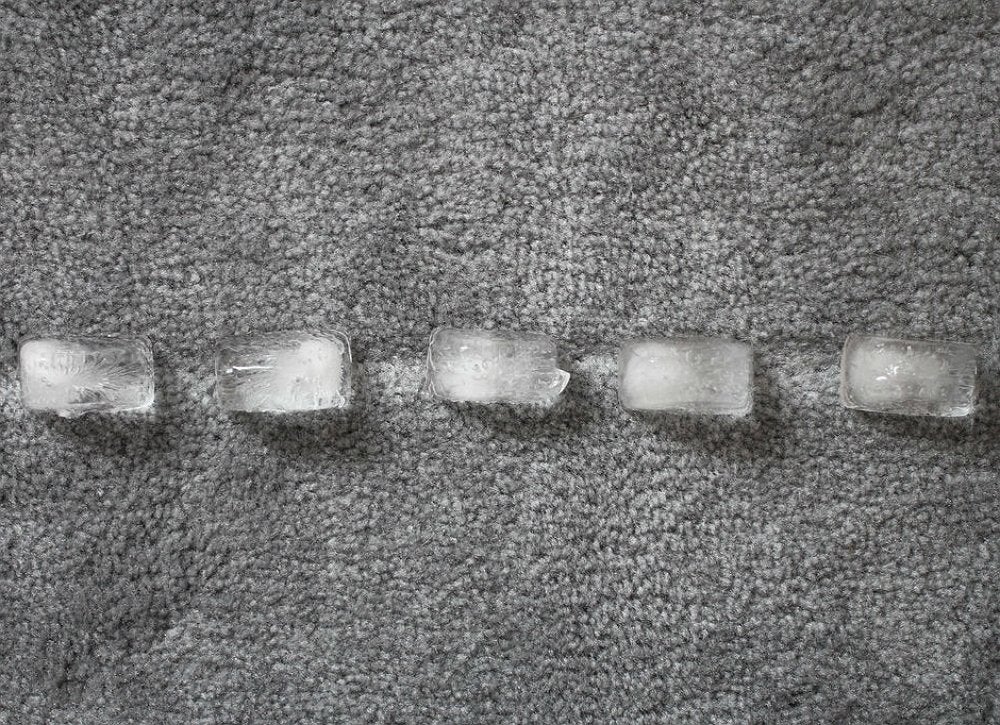
Wiping out dents from your carpet is as simple as placing ice cubes over the divots and letting them melt—and engorge the carpet nap—for a few or several hours. After blotting the water with a sponge, fluff the fibers with a spoon to reveal the luxurious carpet in your humble home.
Photo: Instructables via jessyratfink